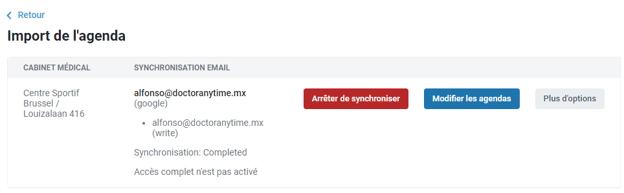
Synchronization with Google Calendar allows you to connect your Doctoranytime Agenda to your Google Calendar to centralize your appointments and make it easier to manage your availability.
Find out below how to set up this synchronization, step by step.
1. Check that synchronization is included in your subscription
Before getting started, log in to your Doctoranytime account and go to Settings > Agenda.
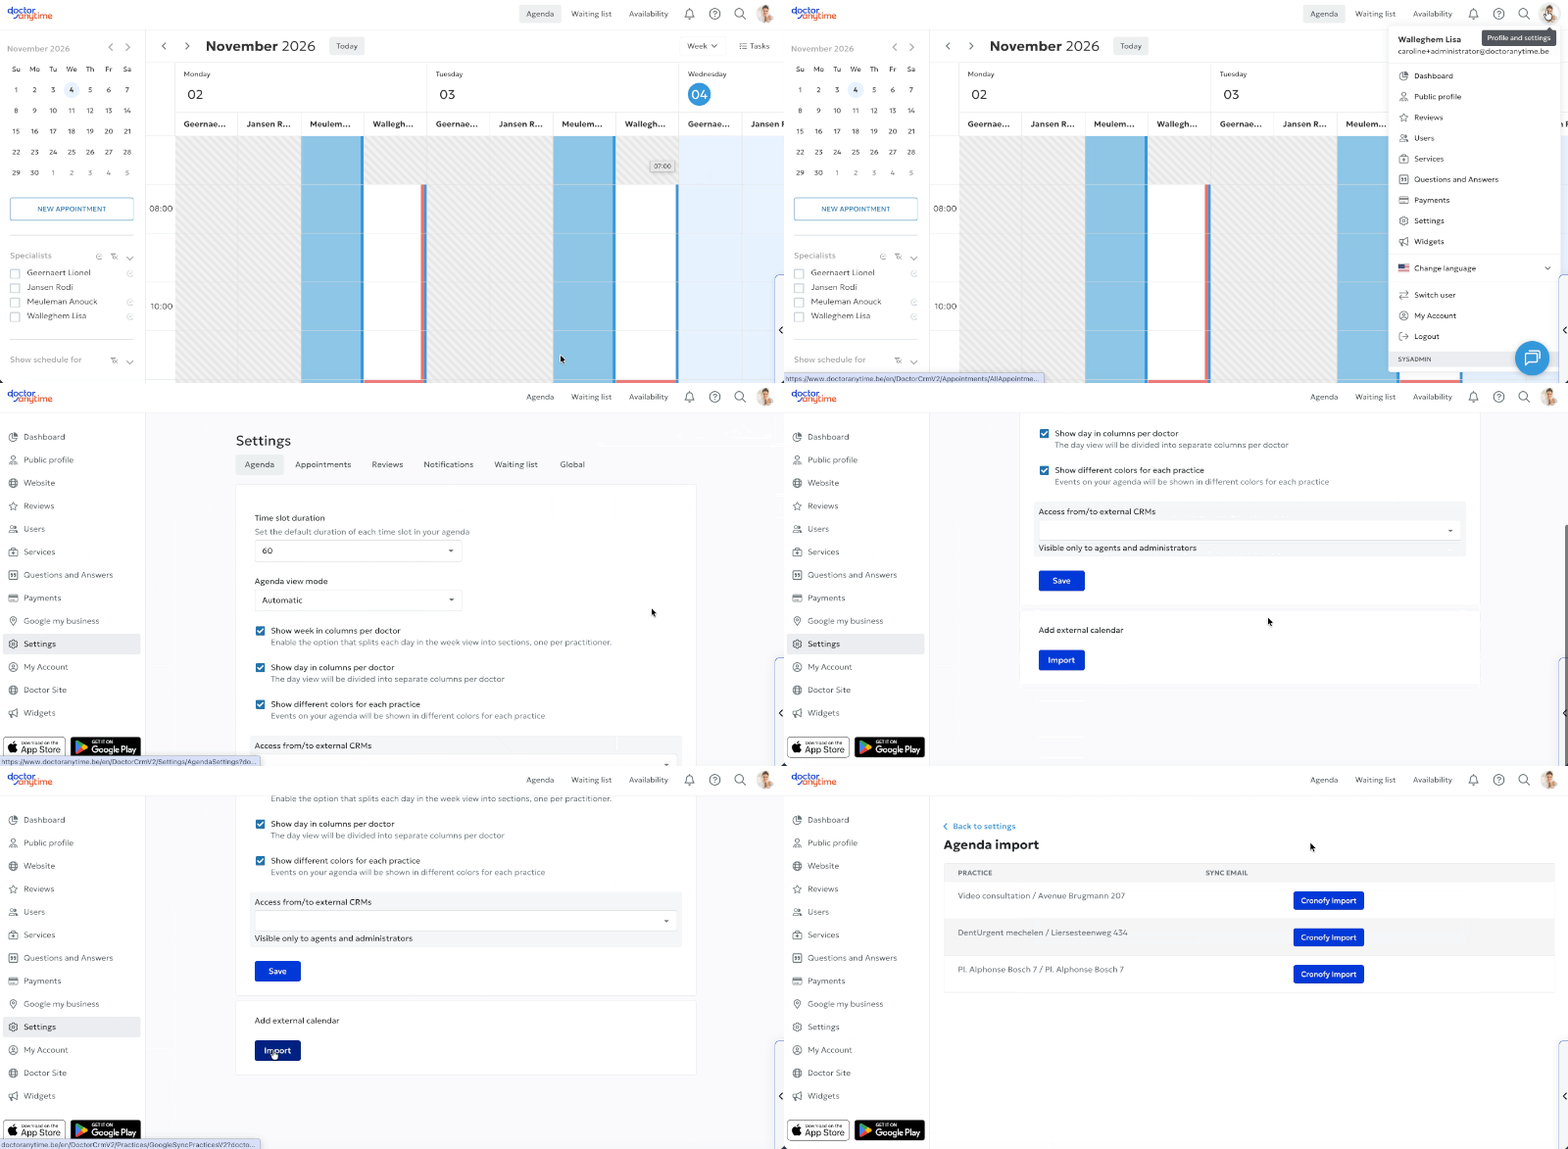
If synchronization is available in your subscription, you will see a blue “Import” button at the very bottom of the page.
Can't see this button?
This means that synchronization is not included in your current subscription.
To activate this feature, contact your Account Manager at care@doctoranytime.be.
2. Do you practice at multiple locations? Prepare your Google Calendars
This step only applies to practitioners who have multiple practice addresses on Doctoranytime.
If you work at several practice locations, it is important to create a separate Google Calendar for each address before setting up synchronization.
Why is this necessary?
If you synchronize the same Google Calendar with multiple practice locations, appointments booked at one location may also appear at the others.
Example:
- A patient books an appointment at 11:00 AM at practice A.
- This appointment is automatically added to your Google Calendar.
- If practice B is also synchronized with the same Google Calendar, the appointment will also be imported into Doctoranytime for practice B.
This may result in incorrect unavailability or give the impression that some appointments are duplicated.
How can you avoid this issue?
The solution is to create a separate Google sub-calendar for each of your practice addresses.
For example:
- Google Calendar “Brussels Practice”
- Google Calendar “Namur Practice”
To create these calendars, follow Google's official instructions:
How to create a Google Calendar
Once you have created your sub-calendars, you will be able to select them individually when configuring synchronization in Doctoranytime.
If you only have one practice address, you can go directly to the next step.
3. Start the Cronofy import
From your Doctoranytime account:
- Go to Settings > Import.
- Click on the blue “Cronofy Import” button.
- A new Cronofy window will open, allowing you to connect your external calendar.
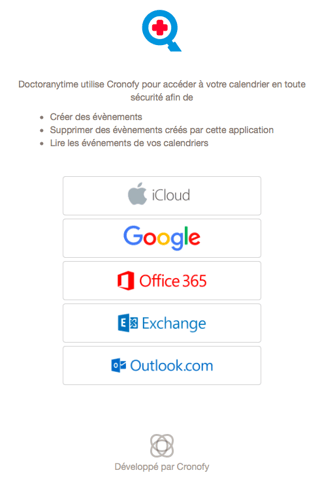
4. Choose Google Calendar
Choose the external calendar you wish to synchronize.
In your case, this will be Google Calendar.
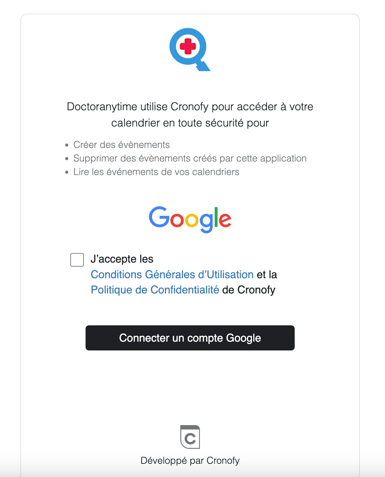
3. Select Google Calendar
Once you have selected Google Calendar, accept the terms and conditions of use and click on the black button.
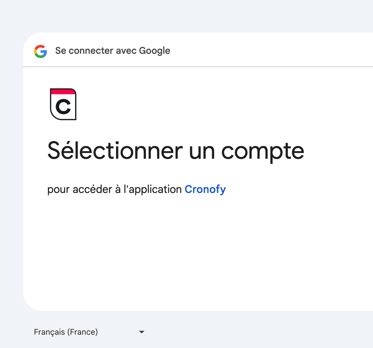
4. Select the account you want to use with Cronofy
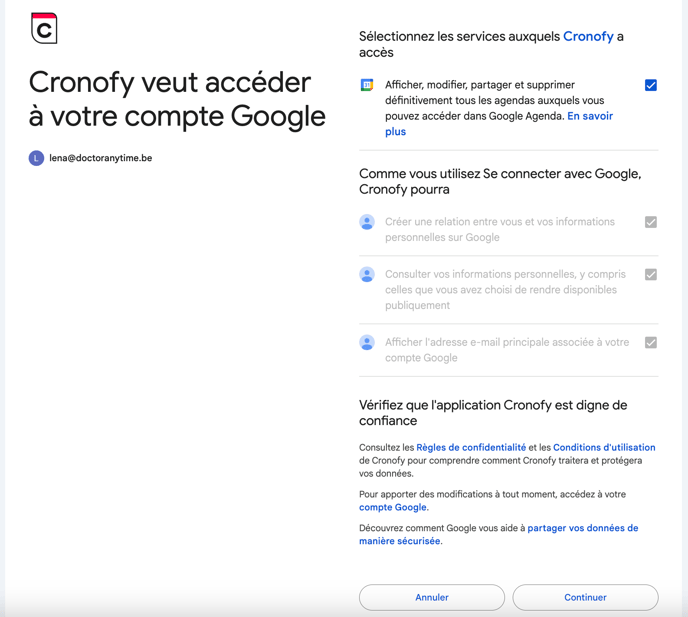
5. Accept the permissions
Click on the Allow button to give Cronofy access to your Google Calendar. Make sure to check all the boxes.
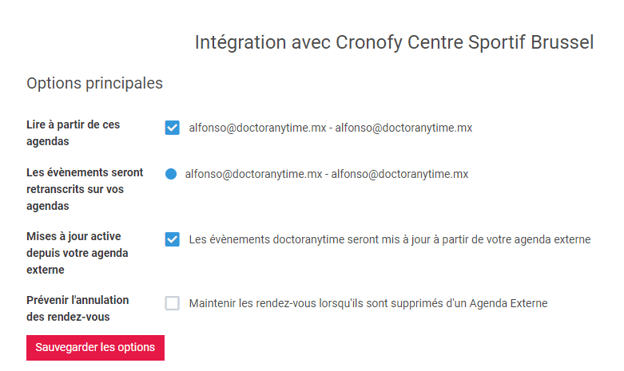
6. Configure the main options
Select the calendars associated with this practice address, as well as the calendars to which Doctoranytime events will be copied.
Once this is done, click on the Save Options button.
7. Enable Full Access
Make sure to enable Full Access by going to More Options.
8. Start synchronization
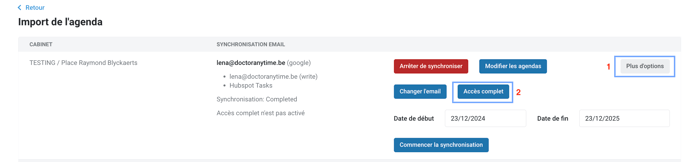
Once Full Access has been granted, click on More Options again and then on Start Synchronization.
Your external calendar is now synchronized with your Doctoranytime