.png?width=200&height=69&name=Type=Default%20(2).png)
1. Cronofy integration
To synchronize your iCloud calendar, first follow the steps for Synchronization with Cronofy

Remember to click on “Cronofy import” button in blue, where a new page will open for Cronofy.
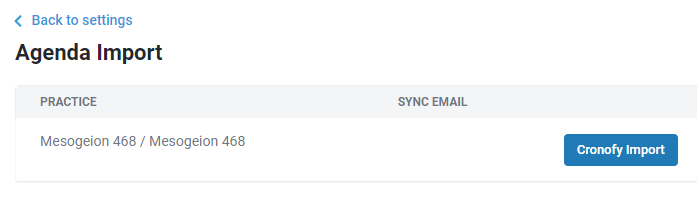
If you don't find it, this option is not available in your current package. Get in touch with your contact person to upgrade it !
2. Choice of calendar to synchronize
Choose your calendar provider to synchronize.
In your case, it is an iCloud calendar. So select the first option.

3. iCloud
Cronofy will ask for secure access to your calendar.
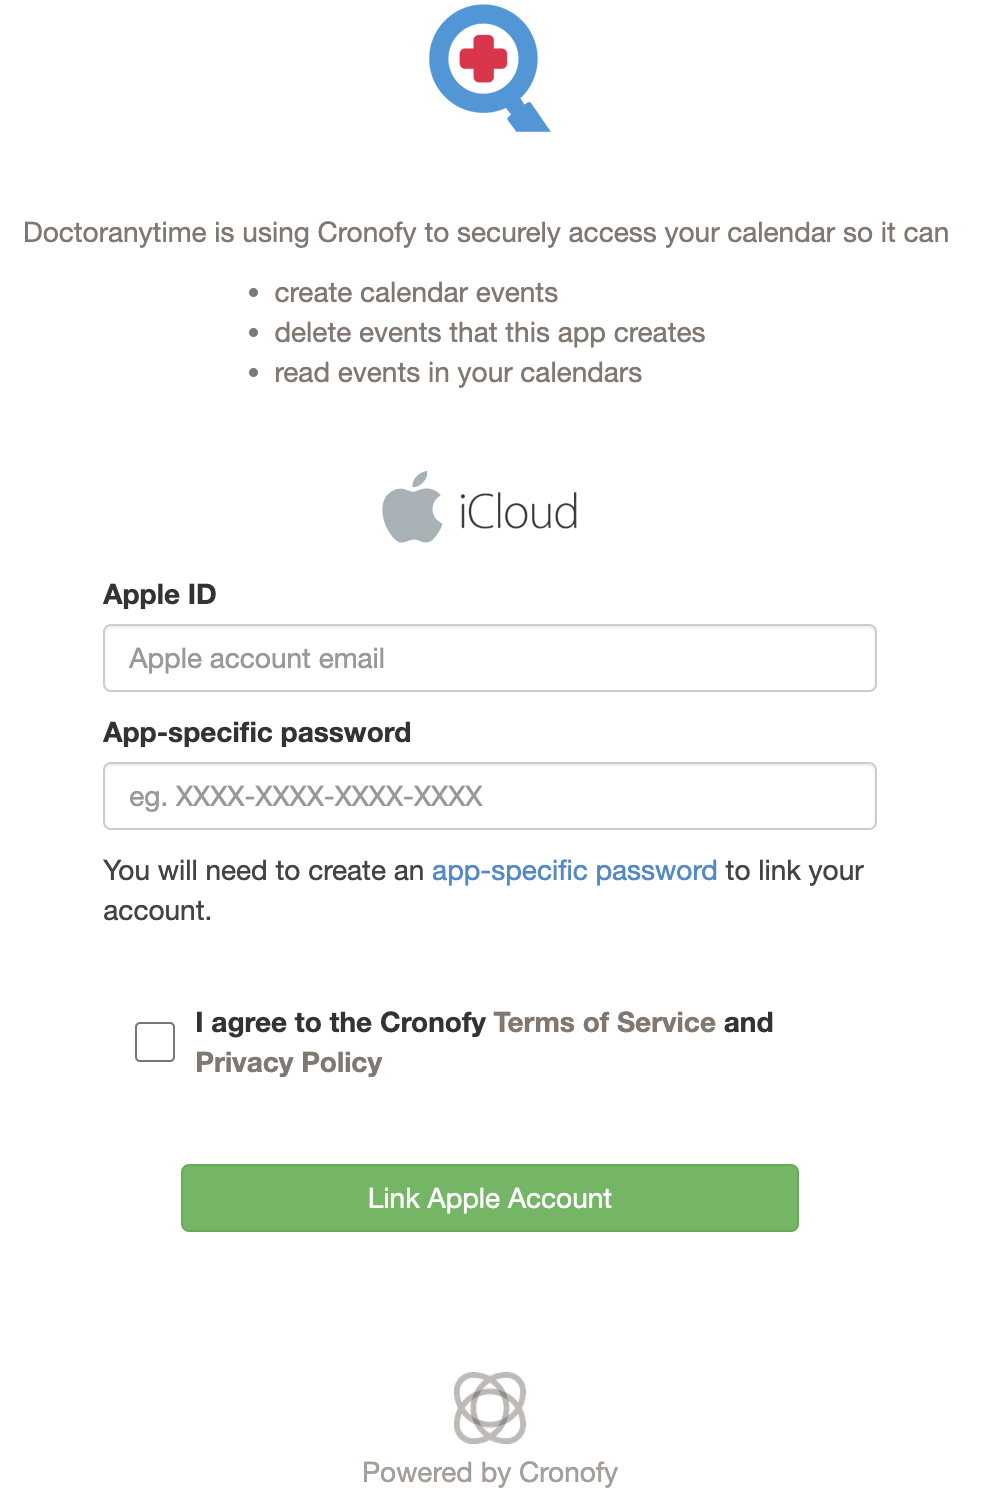
Before filling in the fields with your information, you must first have authorization to connect. To do so, click on the app-specific password marked in blue.
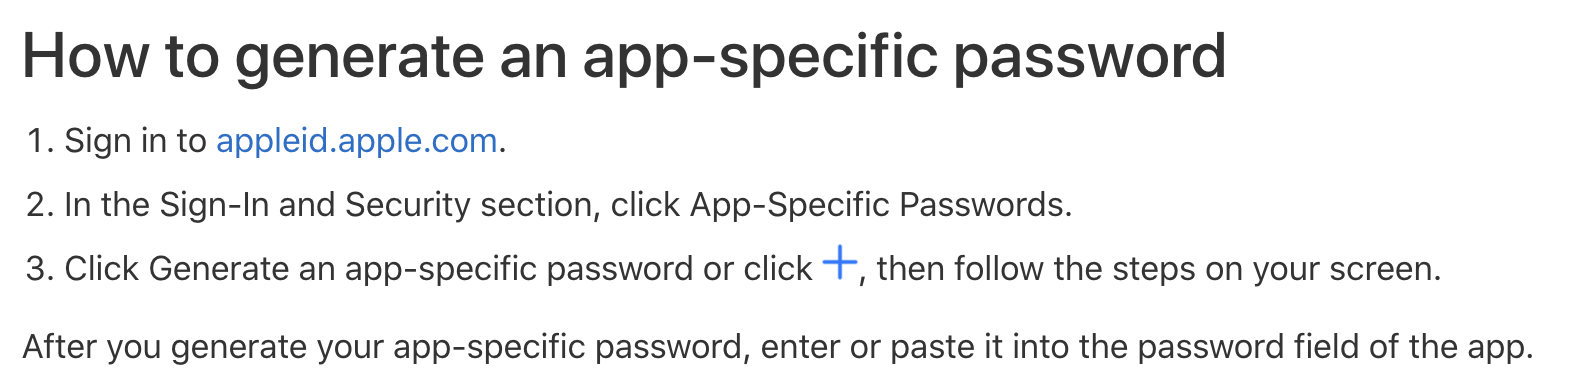
4. Password for application
After having clicked on the app-specific password, you will be redirected to an apple page page.
There you need to see the “How to generate an app-specific password” section and click on appleid.apple.com again marked in blue.
5. Apple ID page
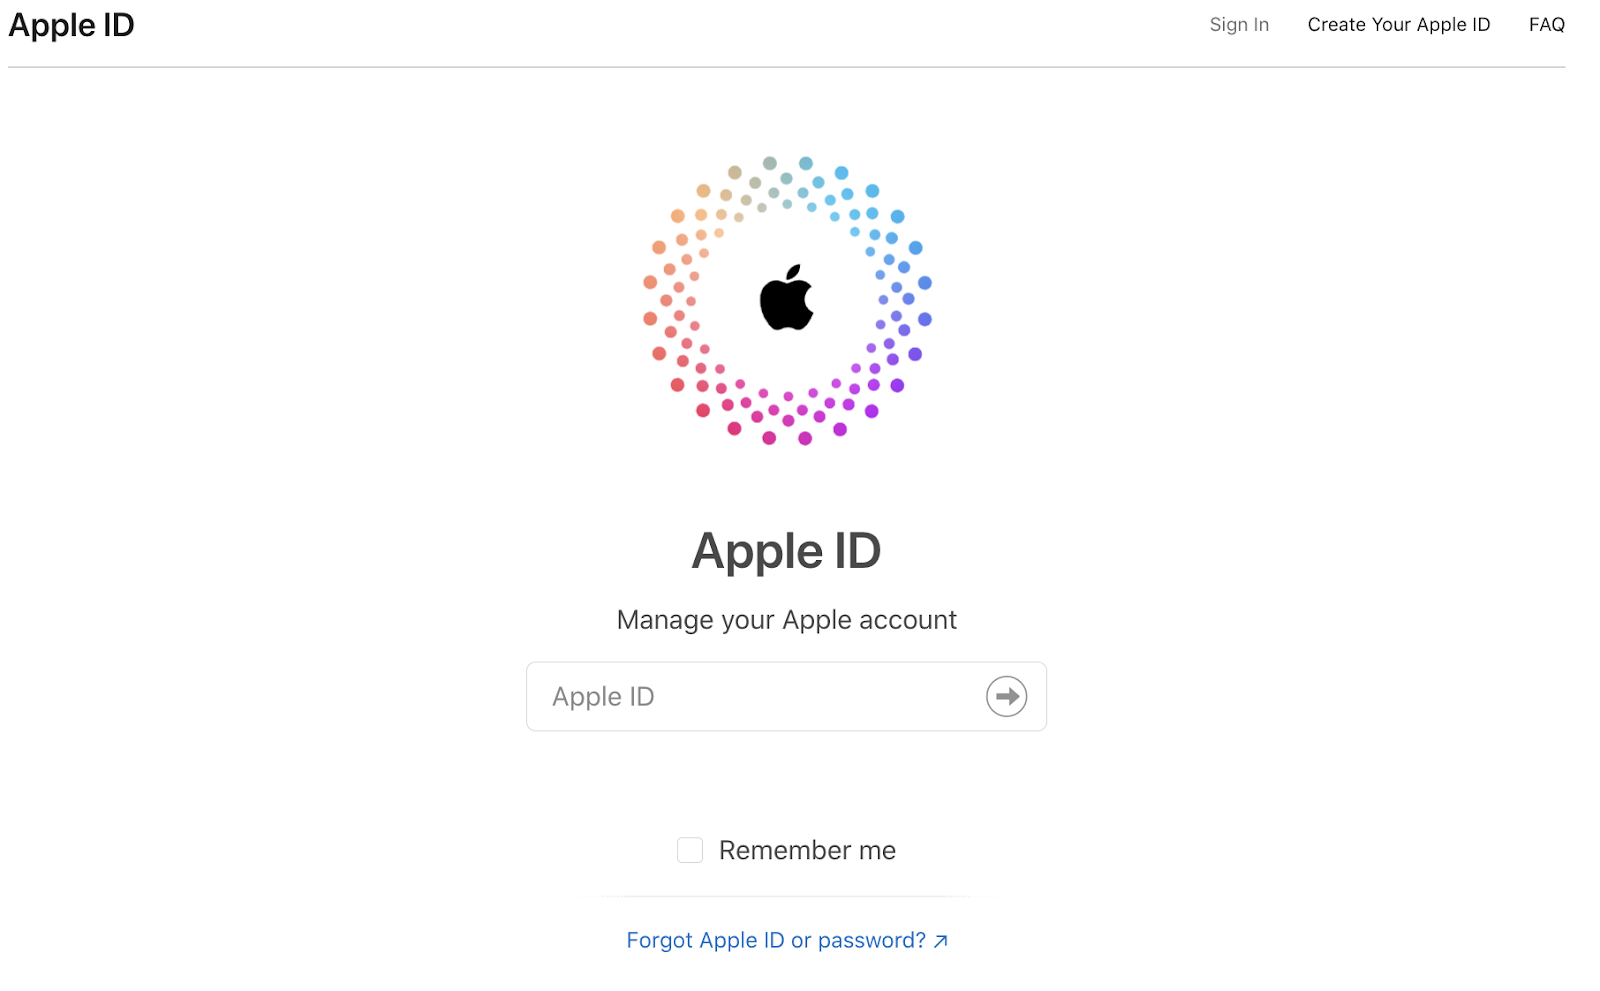
Once again, a new page will open. Here, click in the Sign In button in blue.
Then you will be asked to enter your Apple ID (your icloud account email address) and your usual password linked to the ID.
A two-factor authentication is required, so you will need to add the code showed in your device.

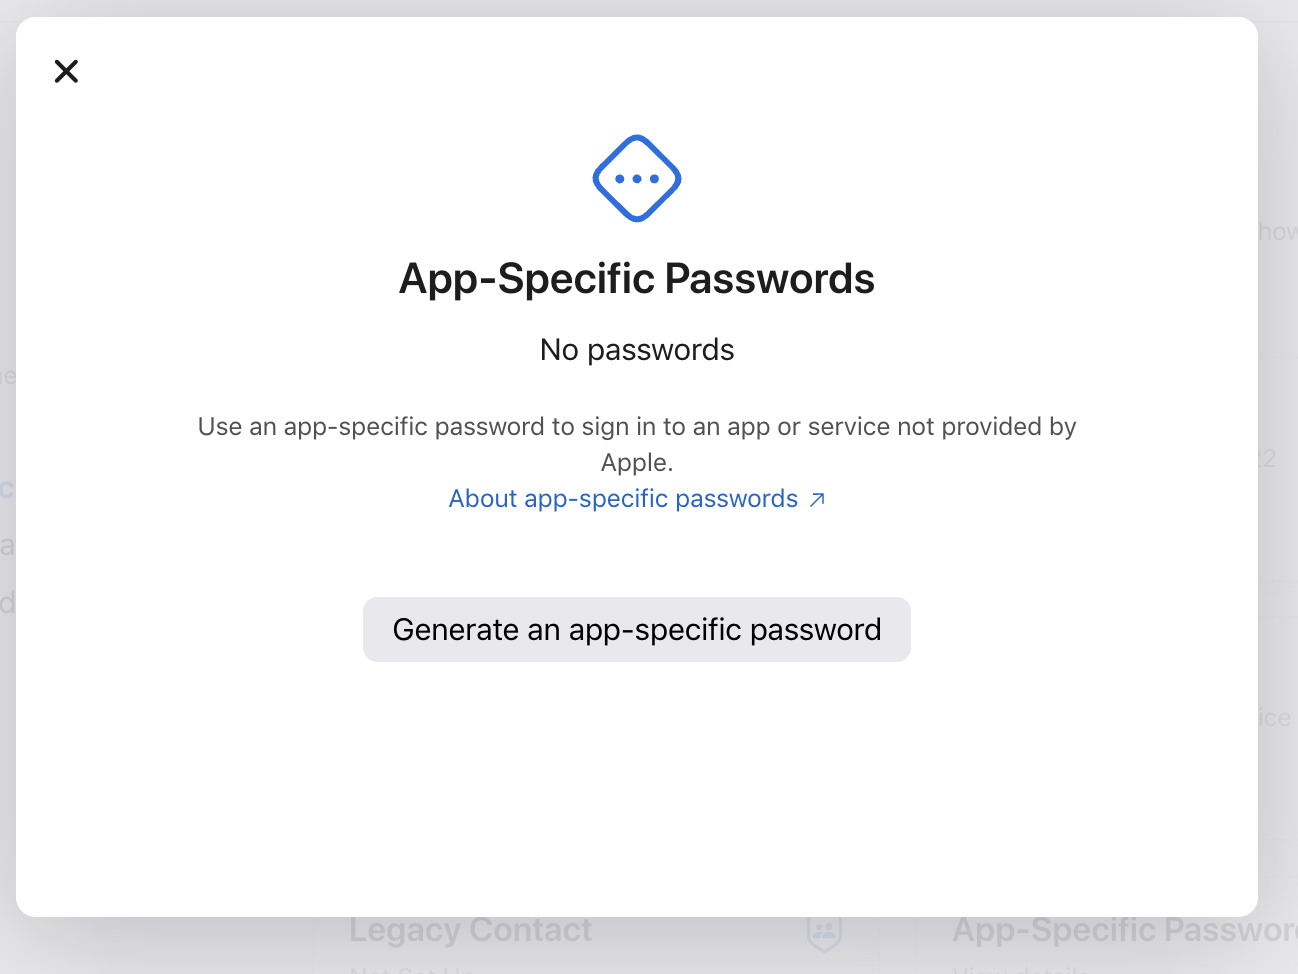
6. Generate a password
Once you have entered your Apple account, you will see the App-Specific Passwords section at the bottom.

When you click on the section, you will be given the option to generate the password you need. Click in the Generate an app-specific password button in gray.
Then, specify which application you want to generate a password for.

Click on Create, where you will be asked to Confirm your Apple ID password
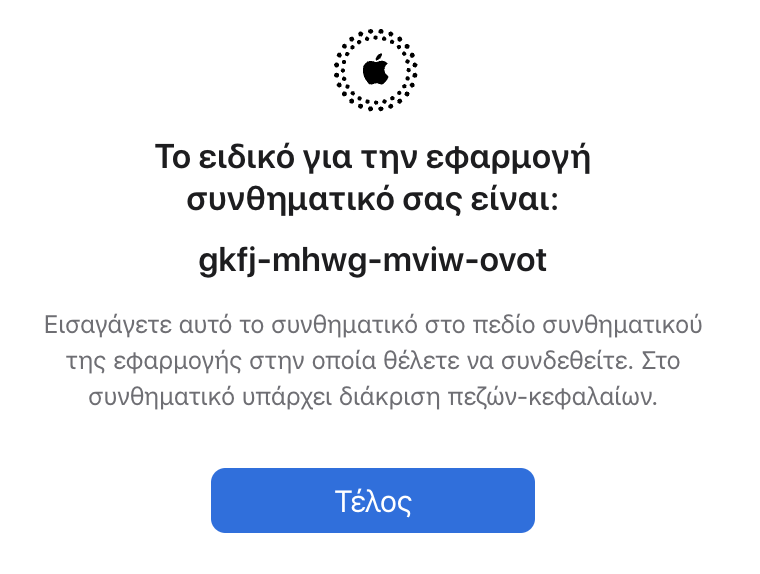
Your password has bow been generated! Copy it or write it down the password to use it in the next steps.
7. Cronofy
Return to the Cronofy window (step 3).
Here enter your Apple ID and the password generated in the previous step.
Don'r forget to accept the terms of use and click Link Apple Account.
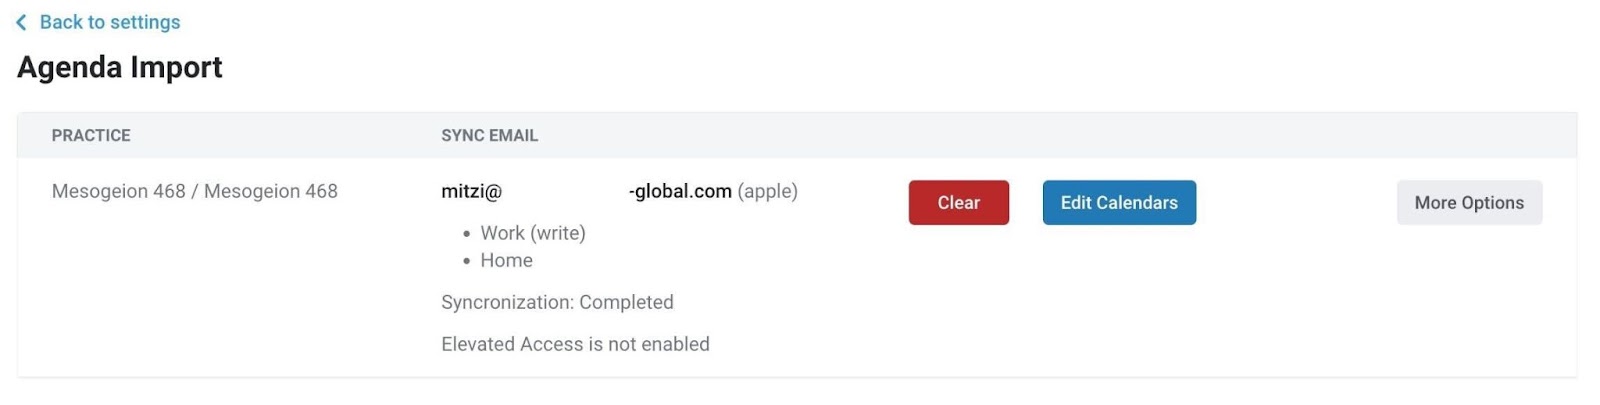
8. Configure the main options
Select the calendars concerned as well as those in which the doctoranytime events will be transcribed.

When done, click on the Save options button.
Now your calendar has been synchronized with your doctoranytime agenda!