.png?width=200&height=69&name=Type=Default%20(2).png)
Getting Started
Before you begin, ensure that you have administrative access to your doctoranytime account. If you do not have the necessary permissions, please contact your clinic's administrator or doctoranytime support.
Step 1: Sign In to Your Account
- Action: Go to the doctoranytime sign-in page and enter your credentials.
- Tip: Bookmark the sign-in page for quick access in the future.
Step 2: Navigate to the Payment Settings
- Action: From your dashboard, locate the 'Settings' menu and select 'Payment'.
- Note: You may find 'Payment' represented by a credit card icon either on the dropdown menu or on the side bar of your account.
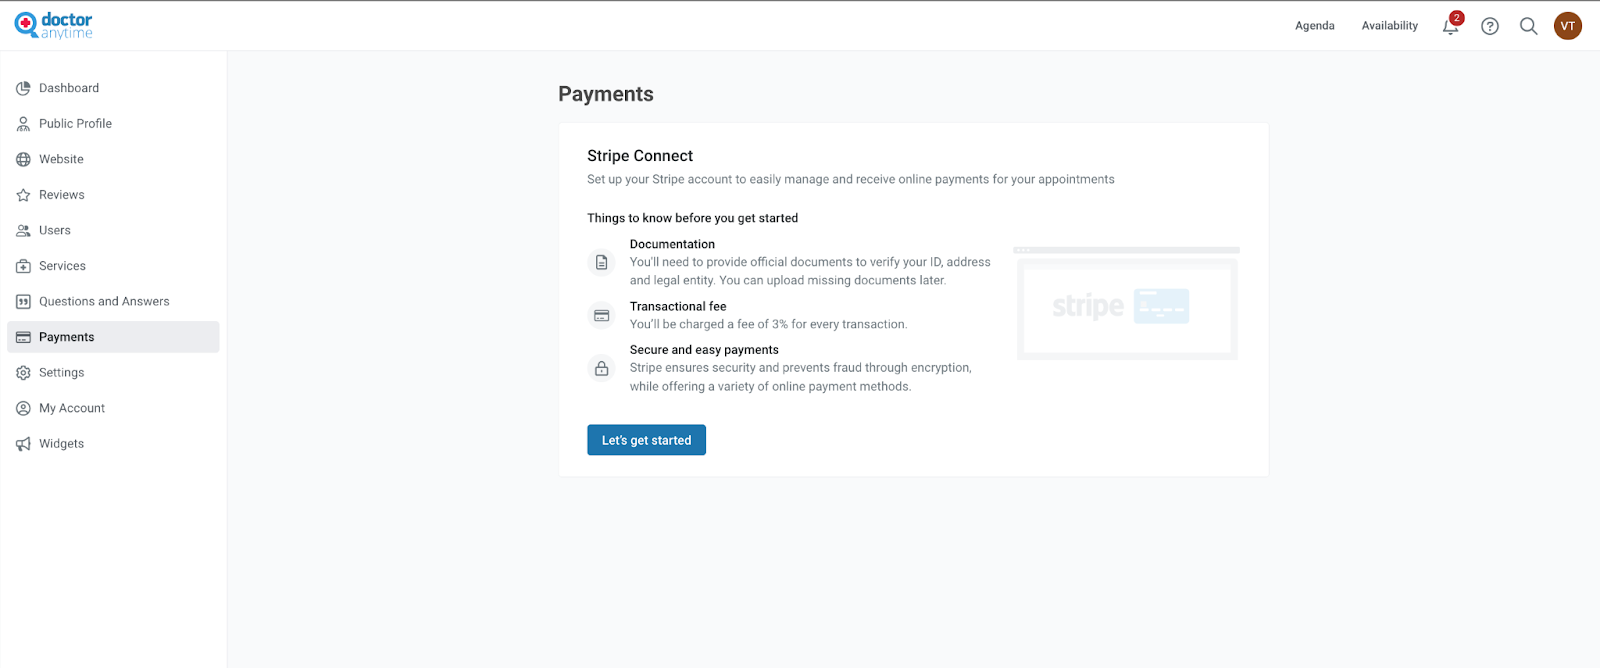
Step 3: Configure Your Stripe Account
- Action: In the 'Payment' section, click on the 'Let’s get started' button to start the configuration.
- Detail: You'll be prompted to enter the Stripe creation process. Ensure that you have this information on hand. Stripe is an online payment platform that enables businesses to accept and process payments electronically in a secure and convenient manner.
Step 4: Enter Your Bank Details
- Action: You will be redirected to Stripe. Fill in the required fields to create your Stripe account. Don’t hesitate to contact us if you have any questions.

Step 5: Set your payment for each practice
- Action: Manage your online payment preferences for appointments in each practice
- Screenshot:
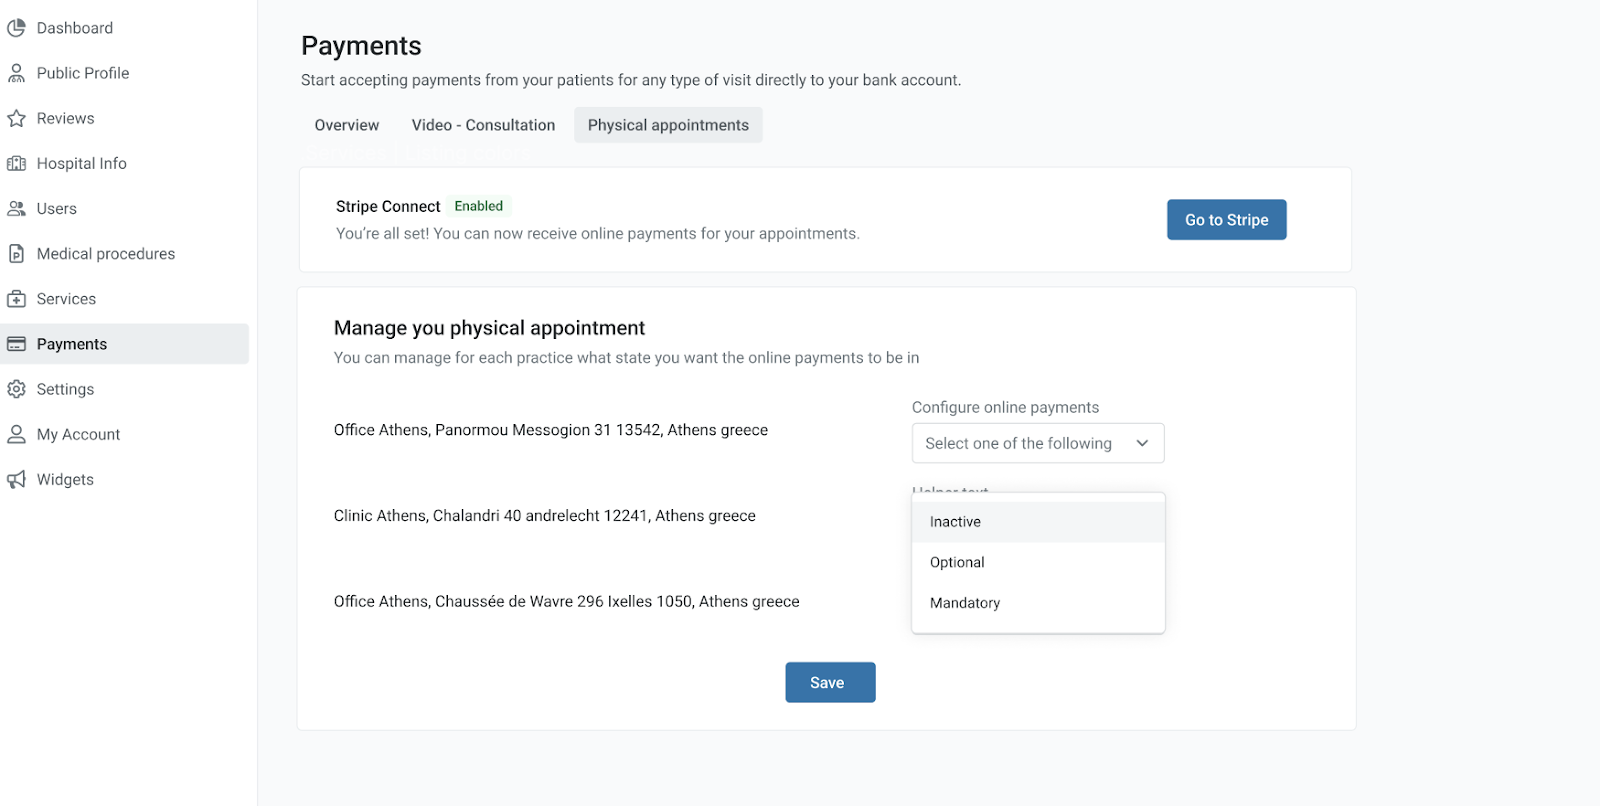
- Action: After reviewing your information, click 'Save' to activate your online payment setup.
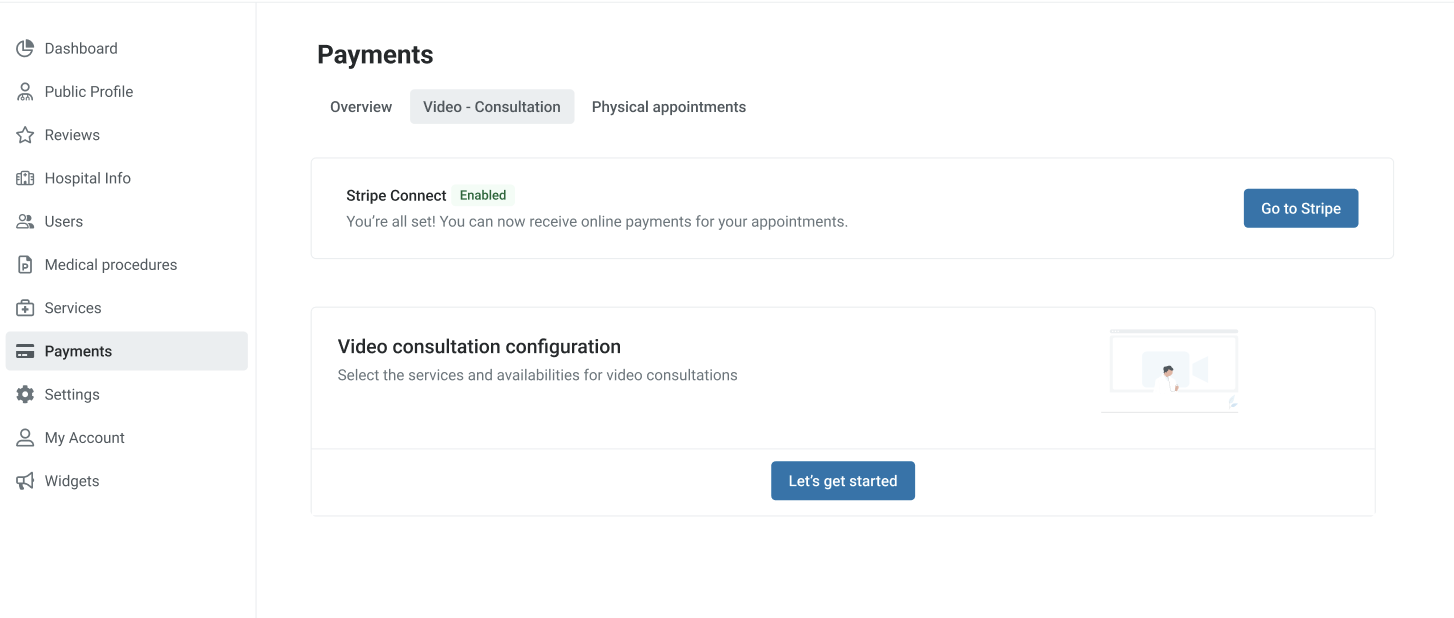
Step 6: Activate your video consultation (optional)
- Action: If you’re interested, you can activate the video consultation feature from there as well. You have to click on the Video Consultation Tab on top and start the configuration process. It will take less than 5 minutes to complete.
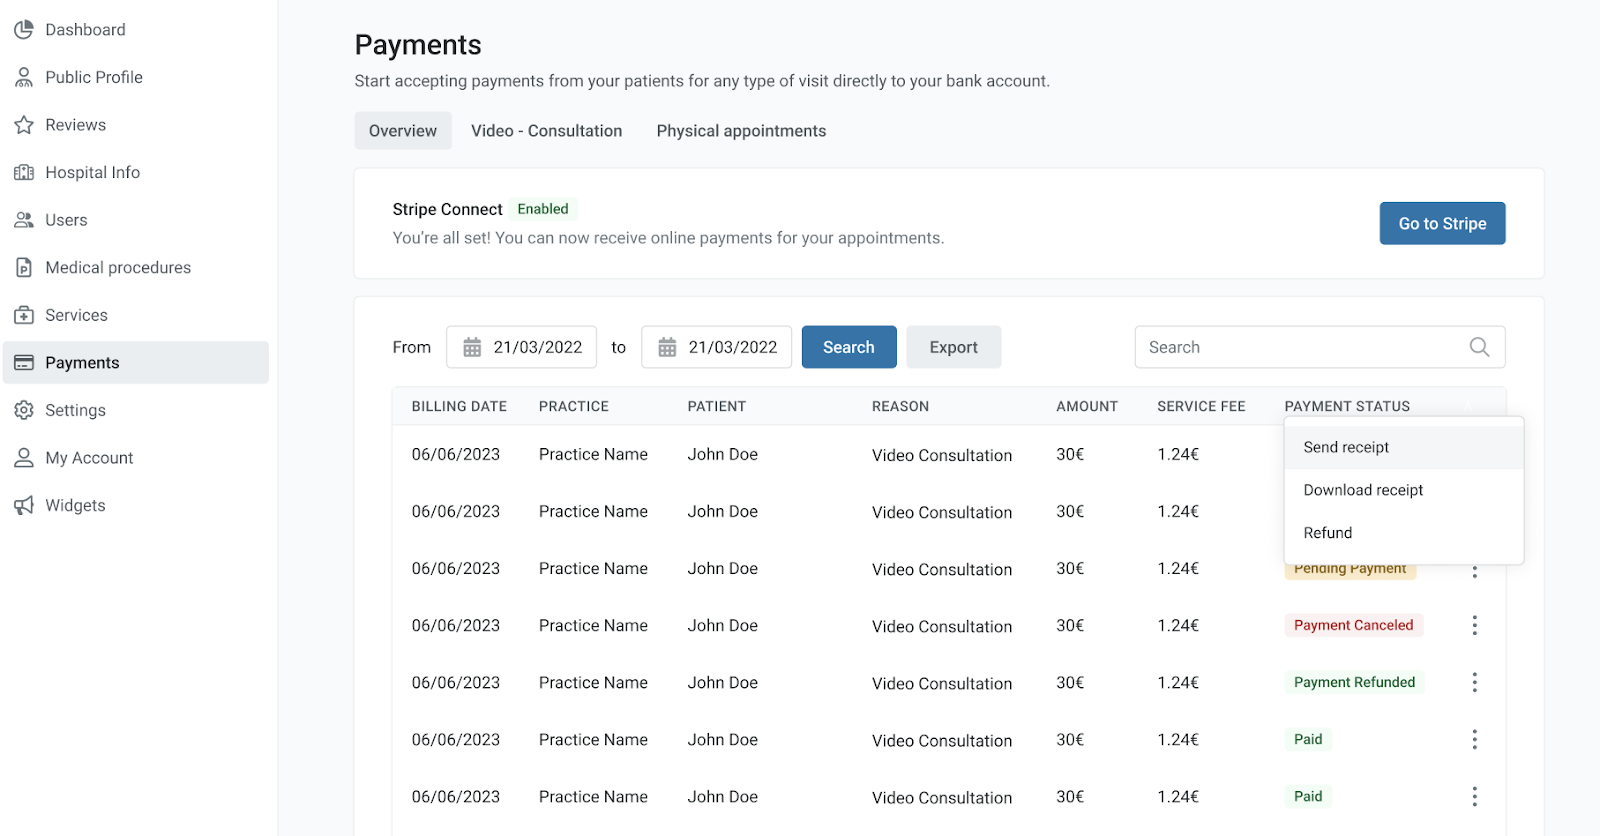
Step 7: Monitor all your payments
- Action: You can manage all your payments from the tab “Overview”. From this page, you will be able to see the status of the payments, export the table, send a receipt to your patient or make a refund.
Conclusion
Congratulations! You've successfully activated online payments for your doctoranytime account. This feature will save you time, reduce no-shows, and offer your patients the ease of modern, secure transactions.
Need Help?
If you encounter any issues or have questions, please don't hesitate to contact doctoranytime support. We're here to ensure your experience is seamless and beneficial for both you and your patients.
Feedback
Your feedback is valuable to us. After using the online payment feature, please share your thoughts so we can continue to improve our services.