How to connect to Google My Business
Connect your Google My Business card or create a free one.
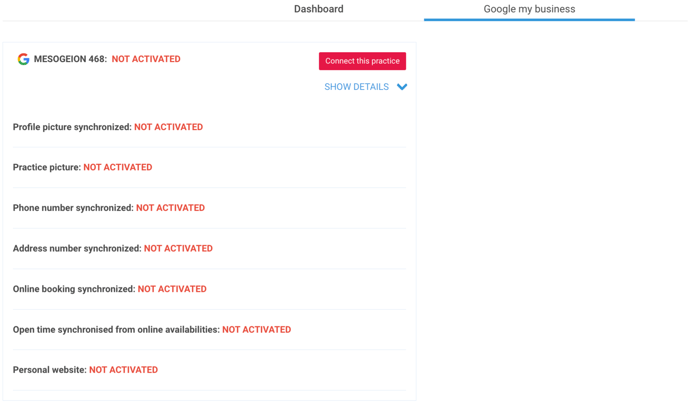
Once you have access to the Google My Business section, you can see your practice(s).
From here, you can turn it into a Google My Business card for free!
Phase 1 - Connect to Google My Business
Click on the Connect this practice button.
Step 1 - GMB features
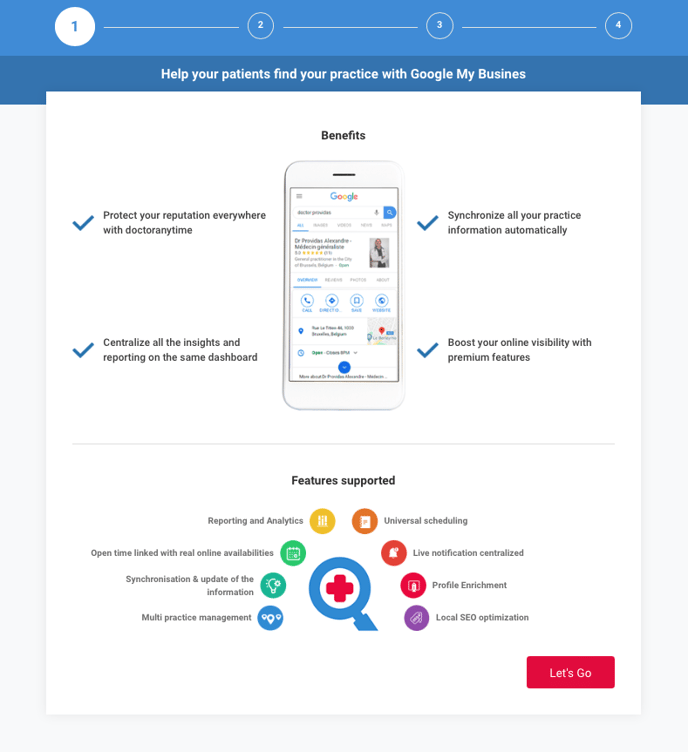
Once you start, you will see the benefits and features of the tool

When ready, click on Let's Go.
Step 2 - Practice Synchronization: Log in
To start the practice Synchronization, you have two login options:
- Access through your Google account (gmail)
- Access with a different email account.

Access with Google account
- Click on "Sign in to Google" button
Here you will be asked to sign in to your Google account in order to continue.
Access with another email account
To connect with another email address
- Click on ‘I don't have a Google account’.
- Then select the practice you want to synchronize.
- If you have more than one practice you need to select one.
- Click ‘Next’.
Step 3 - Practice Synchronization: Choose listing
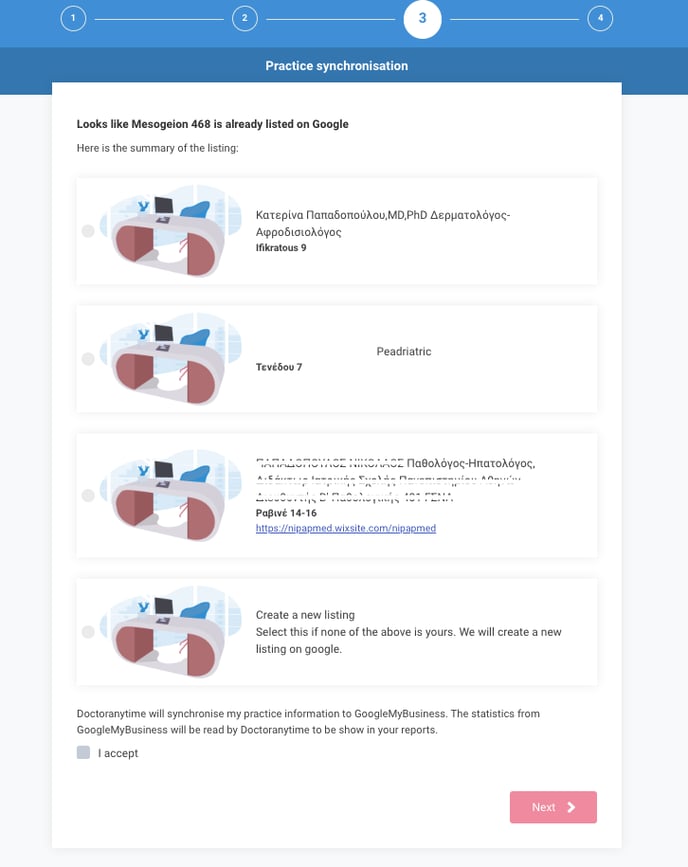
In this step, Listings associated with the address of the practice you selected will be displayed.
You can Claim ownership of one of the listings displayed, or set a new listing for your practice.
Claim ownership
- Select the listing that corresponds to your practice.
- Mark the ‘I accept’ box
- Click the ‘Next’ button.
- Done!
Create new listing
If your practice is not shown o
- Select the option ‘Create a new listing’.
- Mark the “I accept” box
- Click the ‘Next’ button.

You will be redirected to a section where

Here review and verify the information of your practice and add a description.
The description is a mandatory field, so if it is empty, please complete this step.
It can be up to 750 characters.

- If their information is correct click on ‘Verify and continue’.
In this step you can change the email address, in case it is incorrect.
Have in mind that the email address you provide is where the synchronization and acceptance emails will be sent.
Step 4 -
The synchronization is completed!
Phase 2 - Accept ownership in Google
.png?width=200&height=69&name=Type=Default%20(2).png)