
On Doctoranytime, you can confirm patients’ appointments automatically or approve them manually.
You can also customise this setting according to whether the patient is new or existing.
- Access appointment confirmation settings
- Log in to your Doctoranytime agenda.
- Go to ‘Availability’ at the top right of your agenda.
- Select the relevant practice.
- Click ‘Edit’ on the time slot you want to configure.
- Under booking options, find ‘Auto-confirm appointments’.
- Enable automatic appointment confirmation
When automatic confirmation is enabled, appointments booked by patients are confirmed immediately without any action on your part.
You can apply automatic confirmation in three ways:
All patients: every appointment is automatically confirmed, whether the patient is new or existing.
Existing patients only: only patients already in your database who have a Doctoranytime account receive automatic confirmation.
New patients only: only patients not yet in your database receive automatic confirmation.
Good to know: to be recognised as an existing patient when booking online, the patient must be in your database and have a Doctoranytime account.
If you added a patient manually but they do not have a Doctoranytime account, the system cannot automatically recognise them as an existing patient when they book online.
- Disable automatic confirmation: manual confirmation
If you disable automatic confirmation, appointments require your approval.
When a patient requests an appointment:
- The time slot is temporarily blocked in your agenda.
- A small yellow dot appears on the appointment, showing that confirmation is pending.
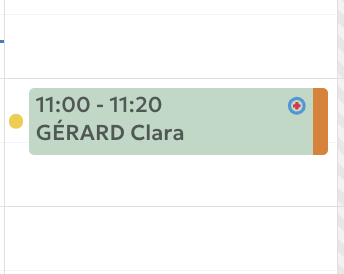
- Click the appointment to confirm or delete it.
- You also receive an email for each new request, from which you can confirm the appointment.
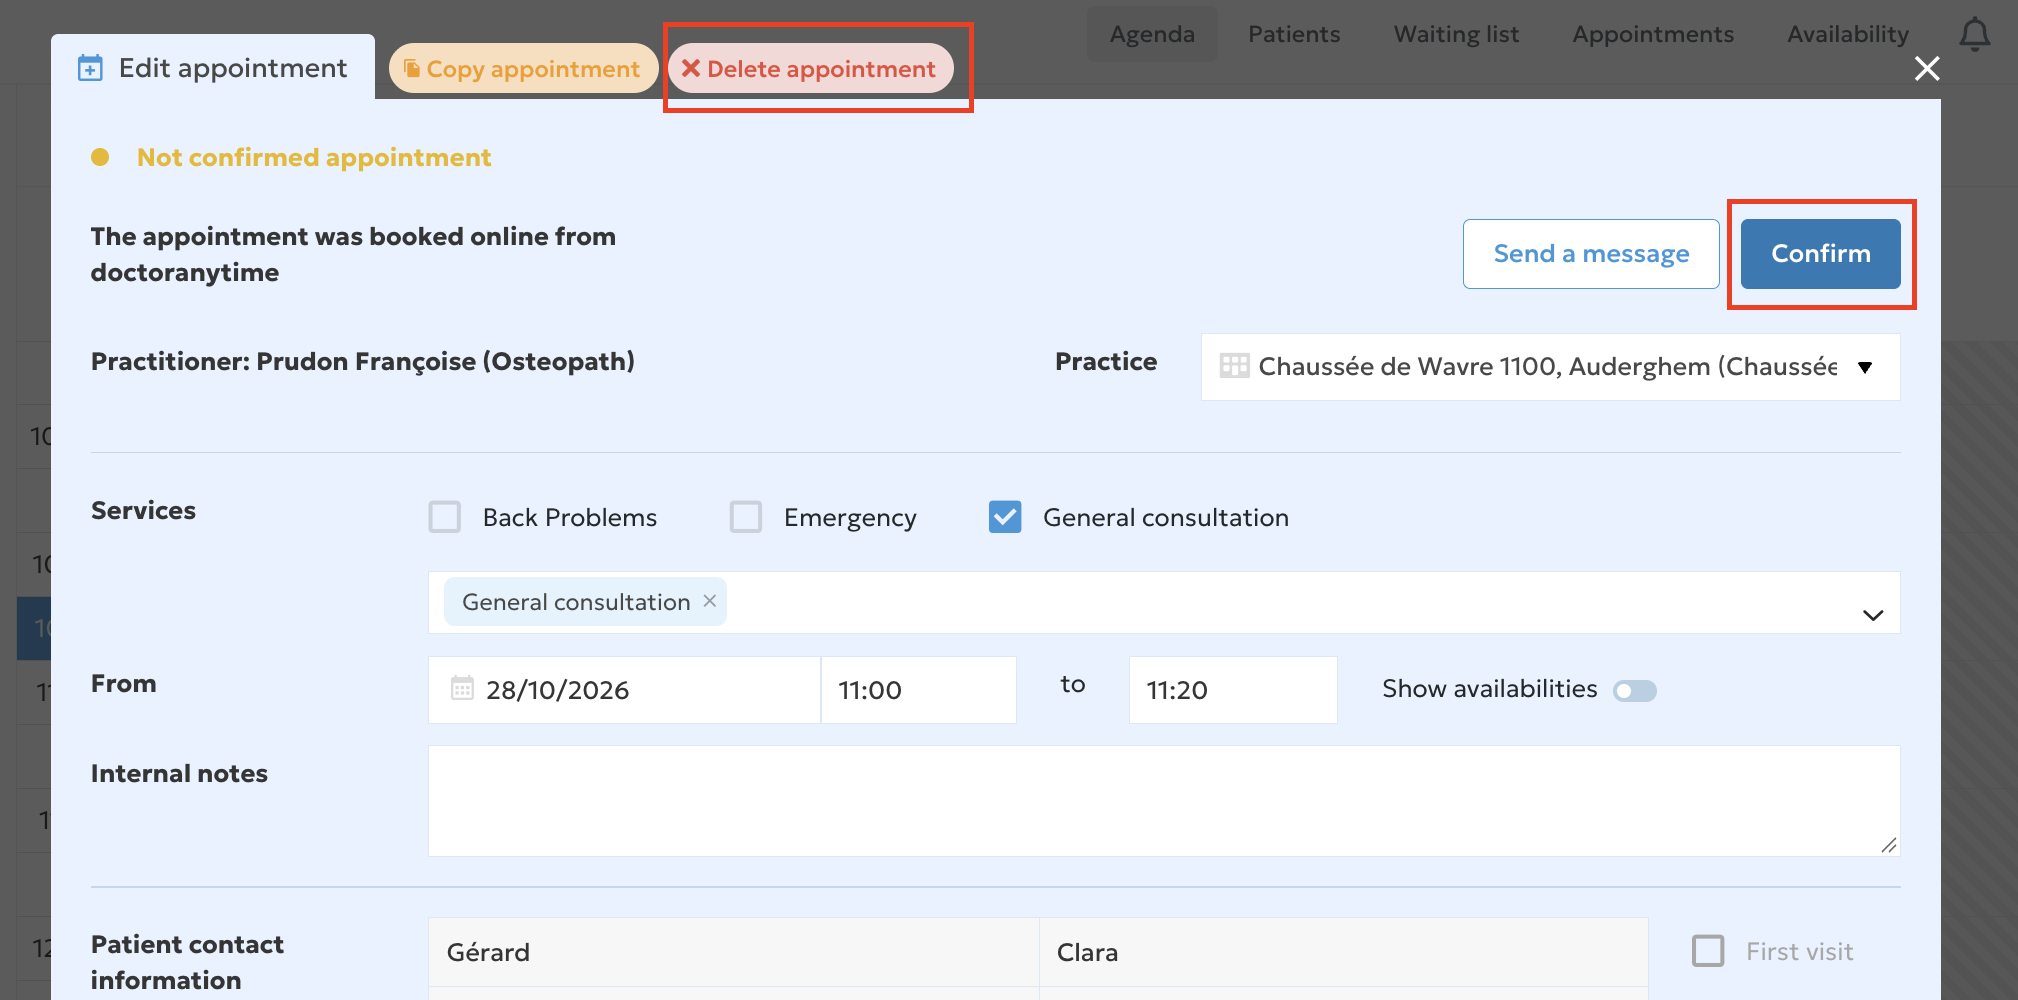
If you delete a pending appointment, the slot is freed up and another patient can book it.
- Save your changes
Once you have selected the desired confirmation mode, click ‘Save’.
The confirmation settings will then apply to the relevant time slot.
Please note: if you have several time slots, check the confirmation settings for each one to ensure they suit your working arrangements.